
Magic Lens Photo Media · Editing the opening gallery
What order should the first five listing photos follow? Begin with the identifying image your MLS requires, then choose photographs that add useful information about the home's layout, main spaces and distinguishing features. Avoid spending several early positions on nearly identical views. The right sequence depends on the property and the destination where it will appear.
Give every early frame a reason to be there.
A strong kitchen photograph can belong in a listing without being its opening image. When I edit a gallery, the useful question is what someone can understand after seeing the next frame that they could not understand before it.
Cover image: the kitchen in the Palm Bay model-home project. The blog cover illustrates the subject; it is not a recommendation to put a kitchen first in Stellar MLS.
Before moving photo one
Separate a compelling opening from an eligible first image.
For residential listings in Stellar MLS, the front exterior normally belongs first. If an aerial or an eligible water-view image leads, the front exterior must be second. A swimming pool does not qualify as that water view, and a collage cannot occupy the first slot. The front exterior should show most of the home or building. These are placement constraints to work within, not reasons to abandon thoughtful sequencing.
Source checked October 3, 2026: Stellar MLS Article 04.05. The listing agent should check the current rules and the actual files before upload, including branding, people, image rights and required disclosures.
A property website or social post may have a different opening. Check the destination instead of assuming one arrangement will appear identically everywhere. Even Zillow Showcase has its own editable opening carousel; that is a product-specific feature, not a rule for every listing portal.
I use five photographs here as a manageable editing exercise. Five is not a promise about how many images every buyer sees, and it is not the complete gallery. The remaining rooms, outdoor areas and supporting media still need coverage.
The photographs below come from Magic Lens projects in Palm Bay, Winter Haven and Haines City. I have arranged them here to explain my reasoning. These are proposed sequences, not a record of an agent's original upload order or a test of sales performance.
Sequence A · Furnished model home
Palm Bay: show the house, then how its spaces relate.
The furnished model home gives me several strong candidates. I would start with its exterior, then move through the kitchen, office, bedroom and patio. The office earns an early place because its open doors reveal the living area and kitchen beyond it. That adds a relationship, not simply another attractive room.
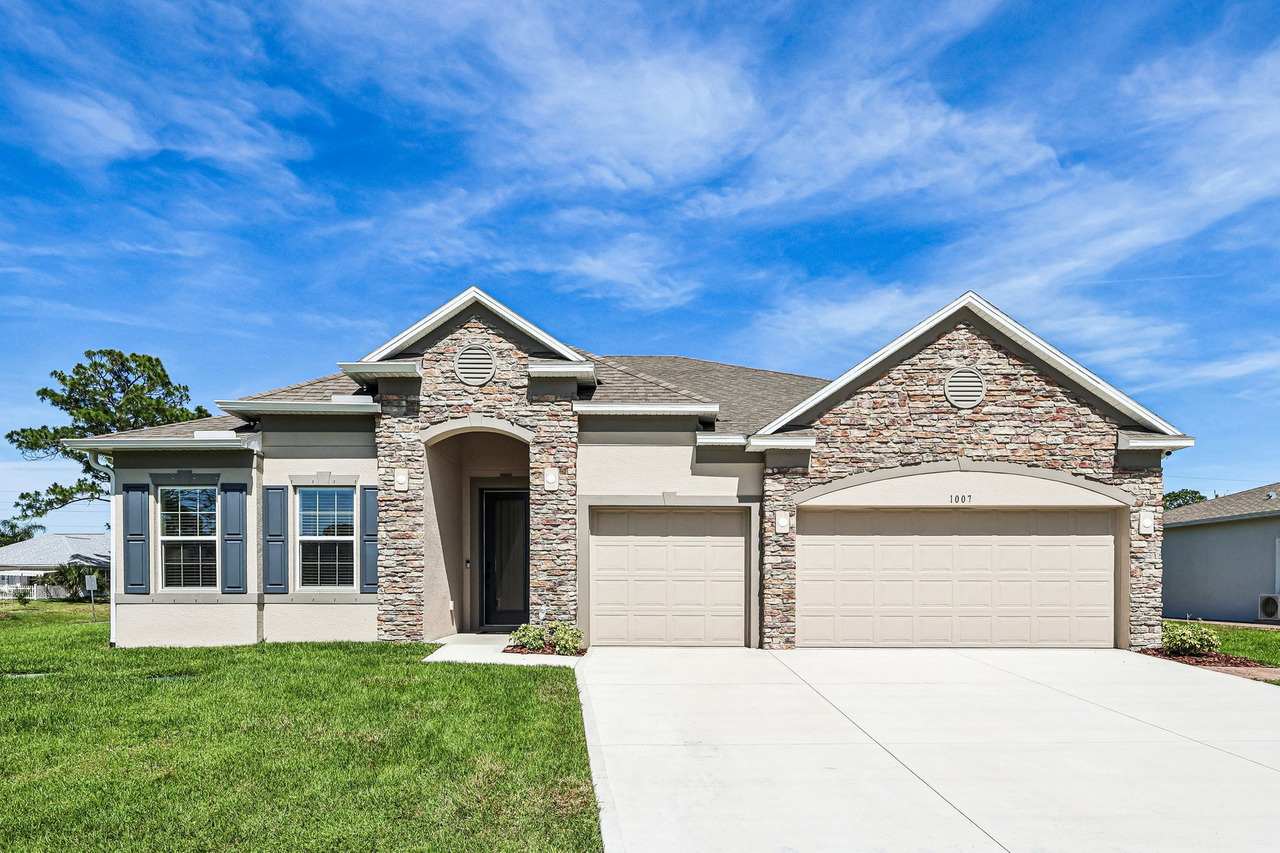
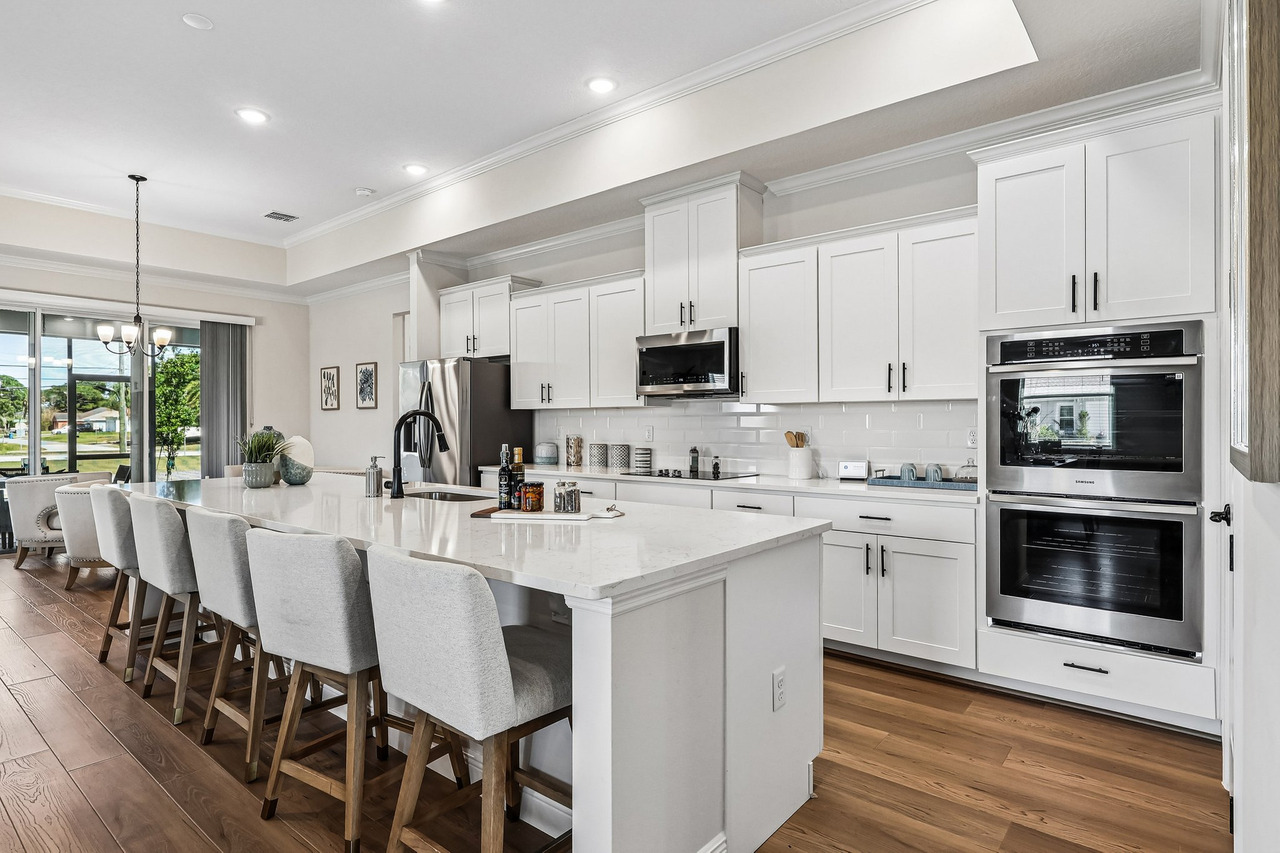
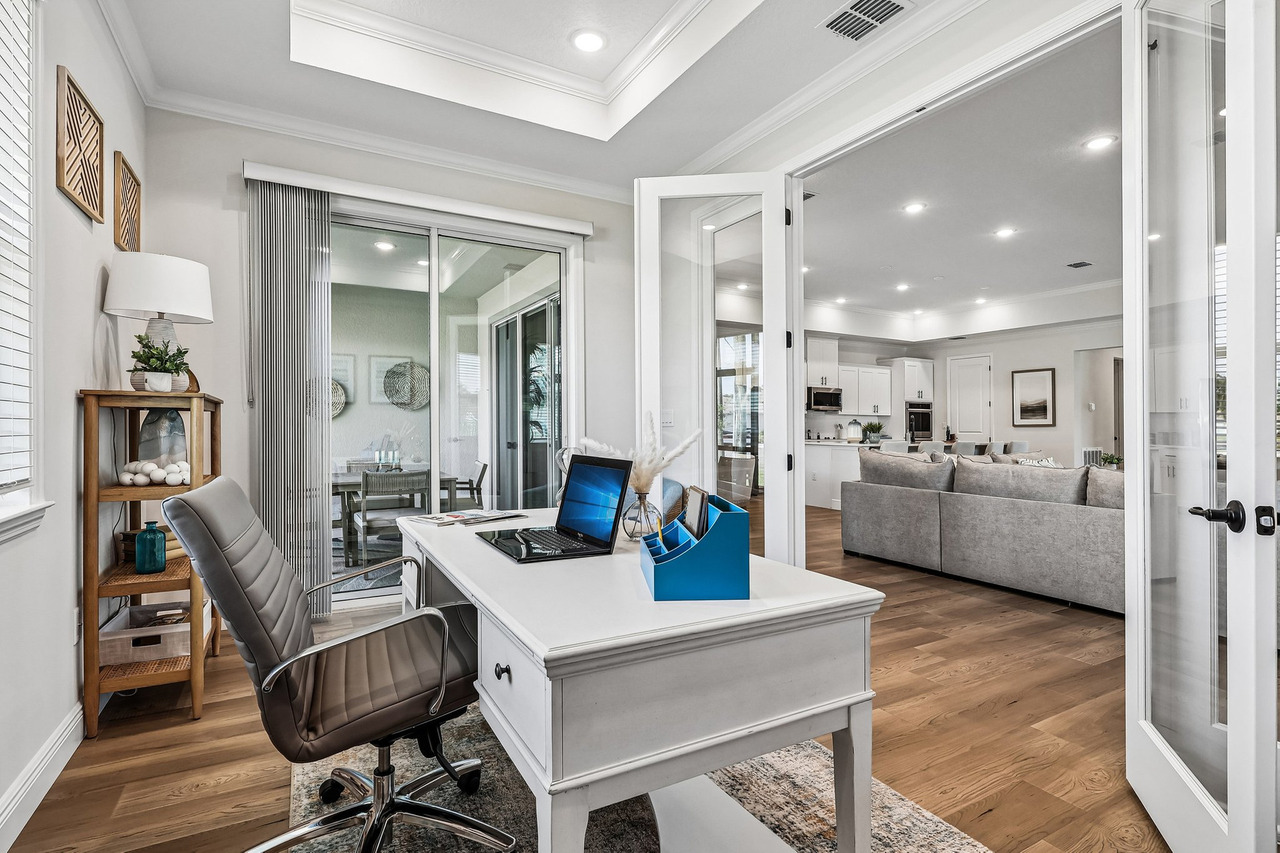
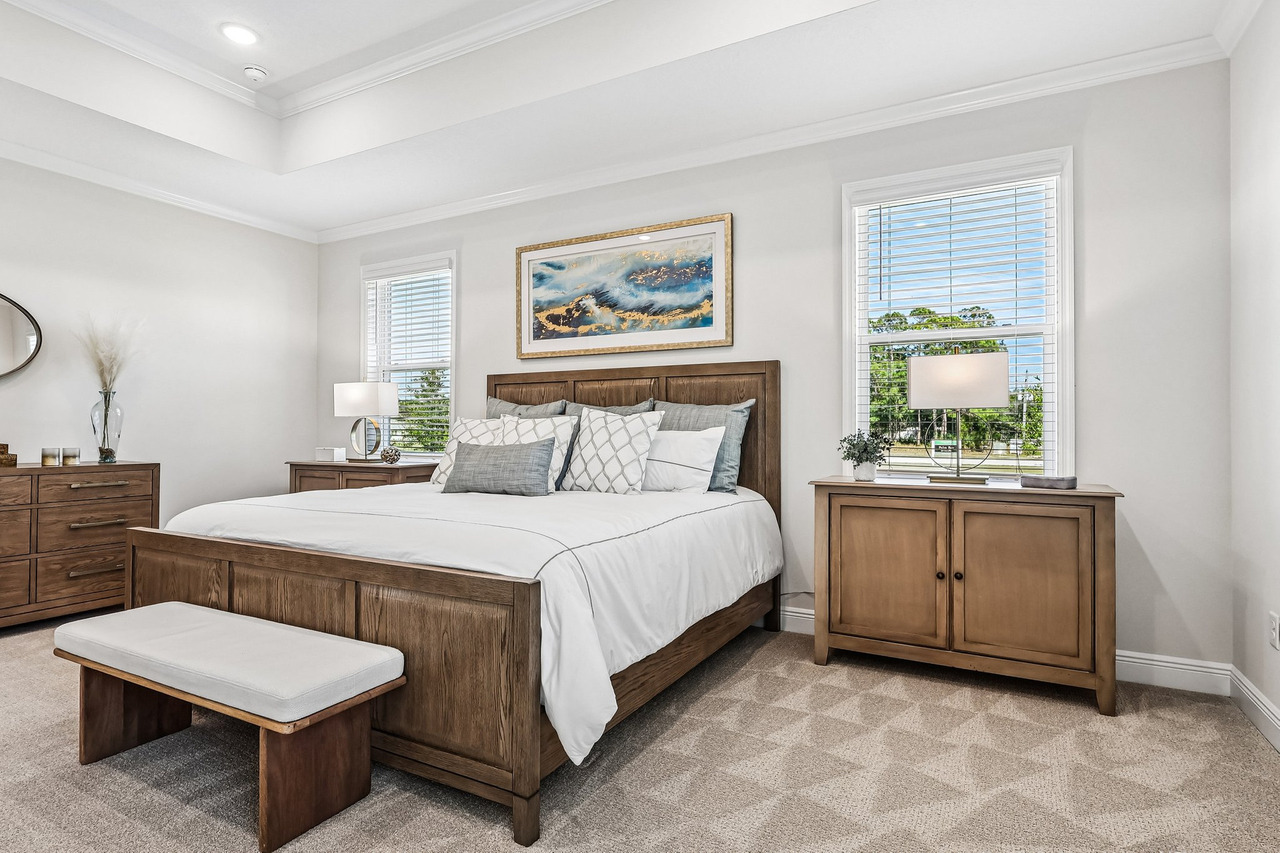
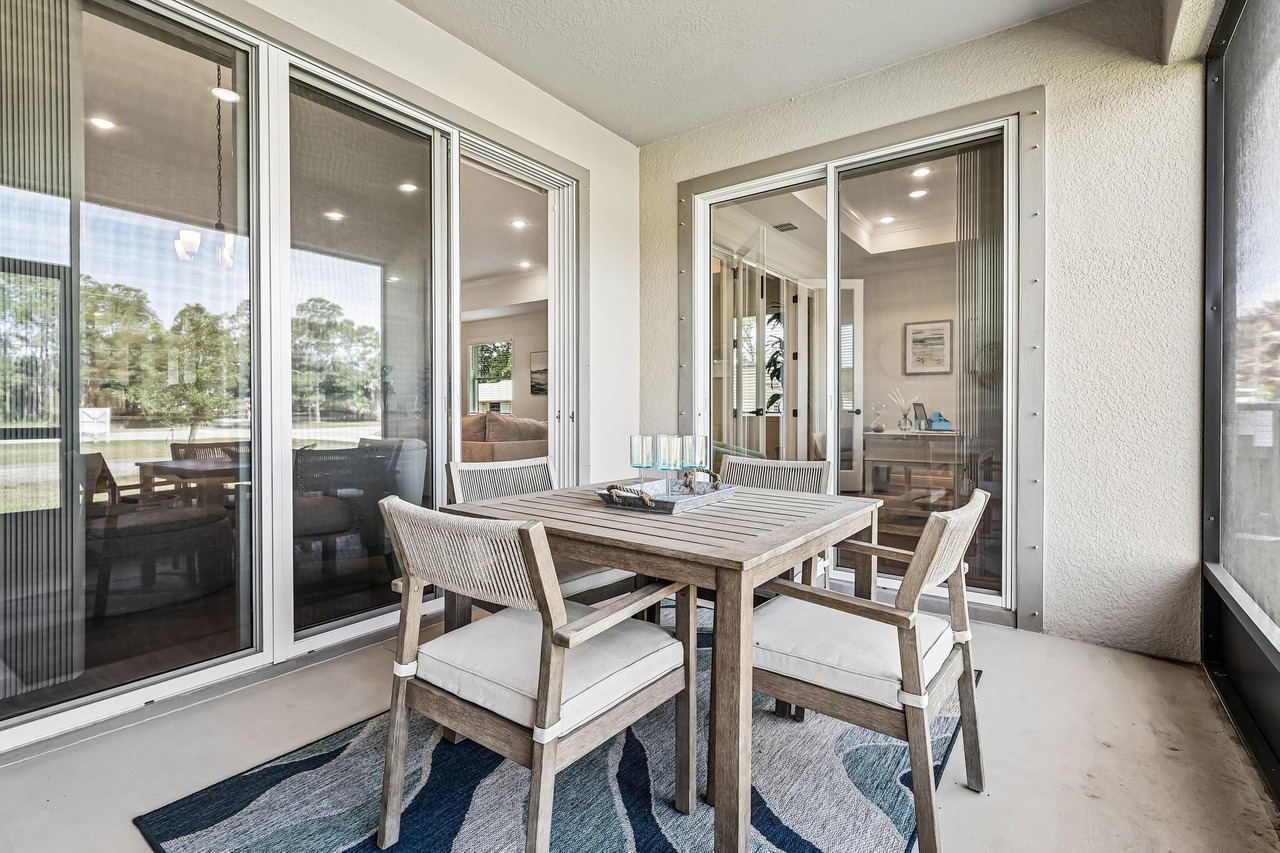
I would keep extra kitchen angles and finish close-ups for later unless they answer a missing question. The first five are a compact introduction, not a contest to fit every beautiful frame at the front.
See the documented Palm Bay model-home photography project for the wider coverage.
Sequence B · Vacant new construction
Winter Haven: use repeated landmarks to make an empty home easier to follow.
Without furniture, different rooms can look similar. Here I would use the kitchen island as a reference, then move to the bedroom and its bathroom connection. Two views of one area can be useful when each explains a different direction; two interchangeable views should not take two early positions.
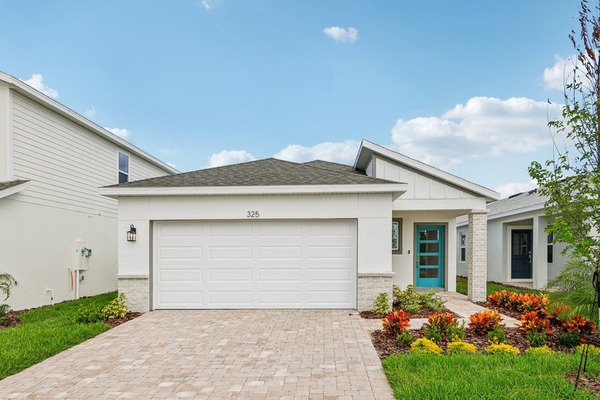
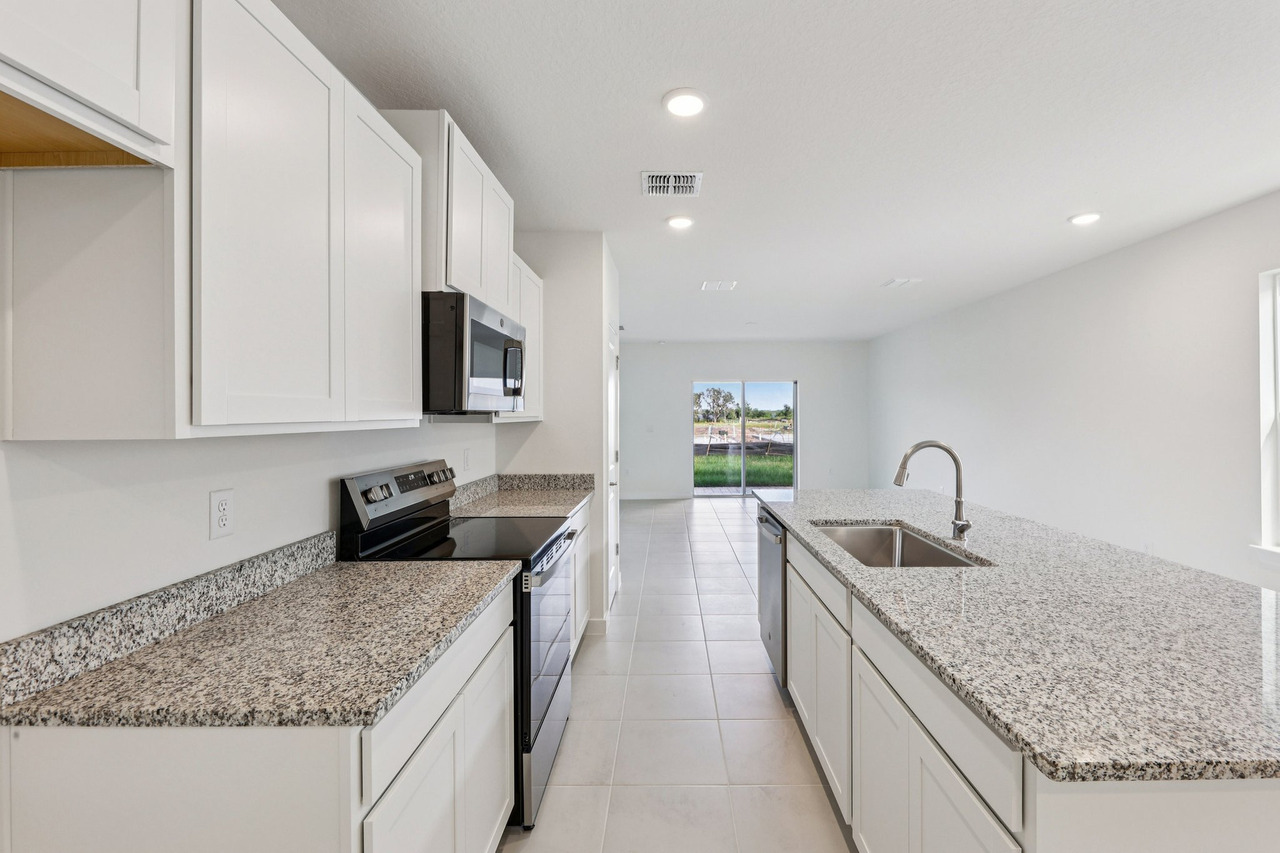
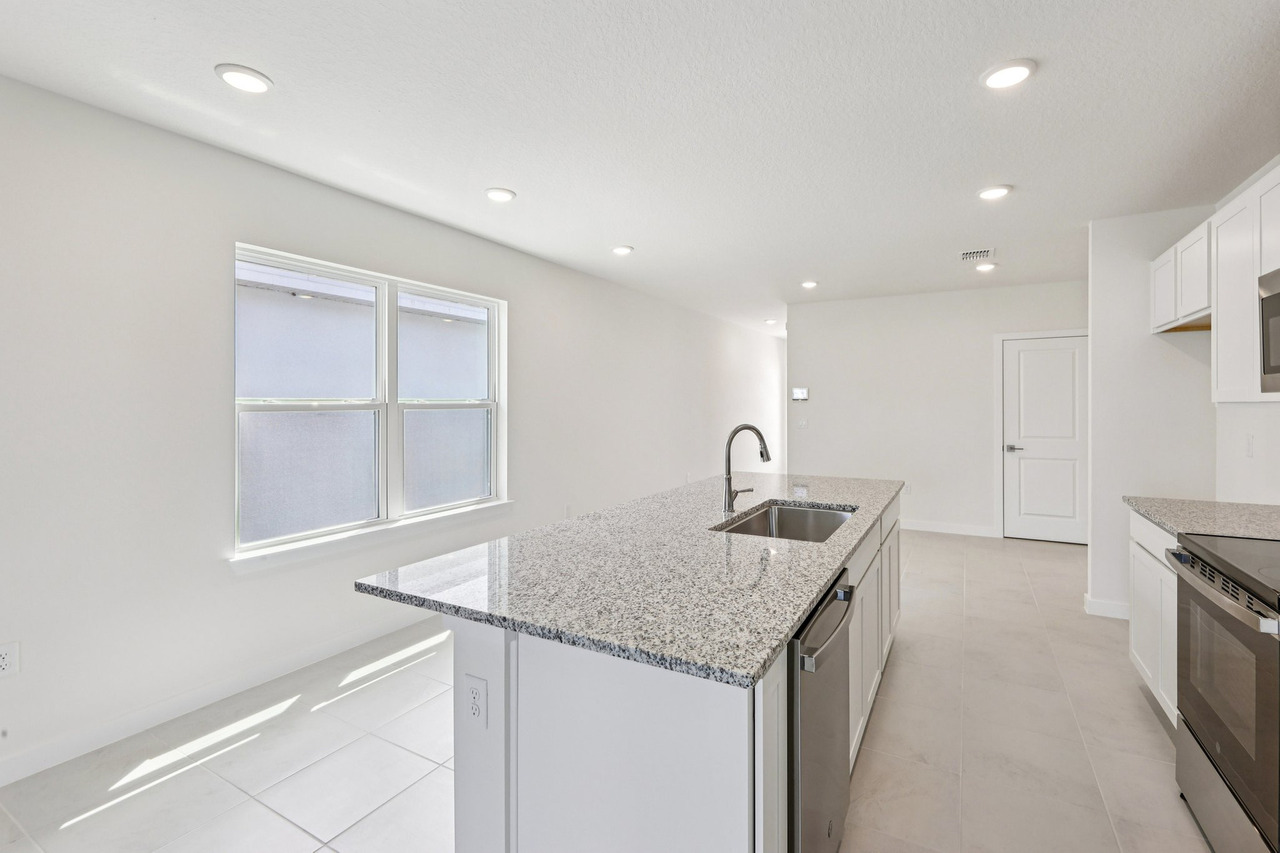
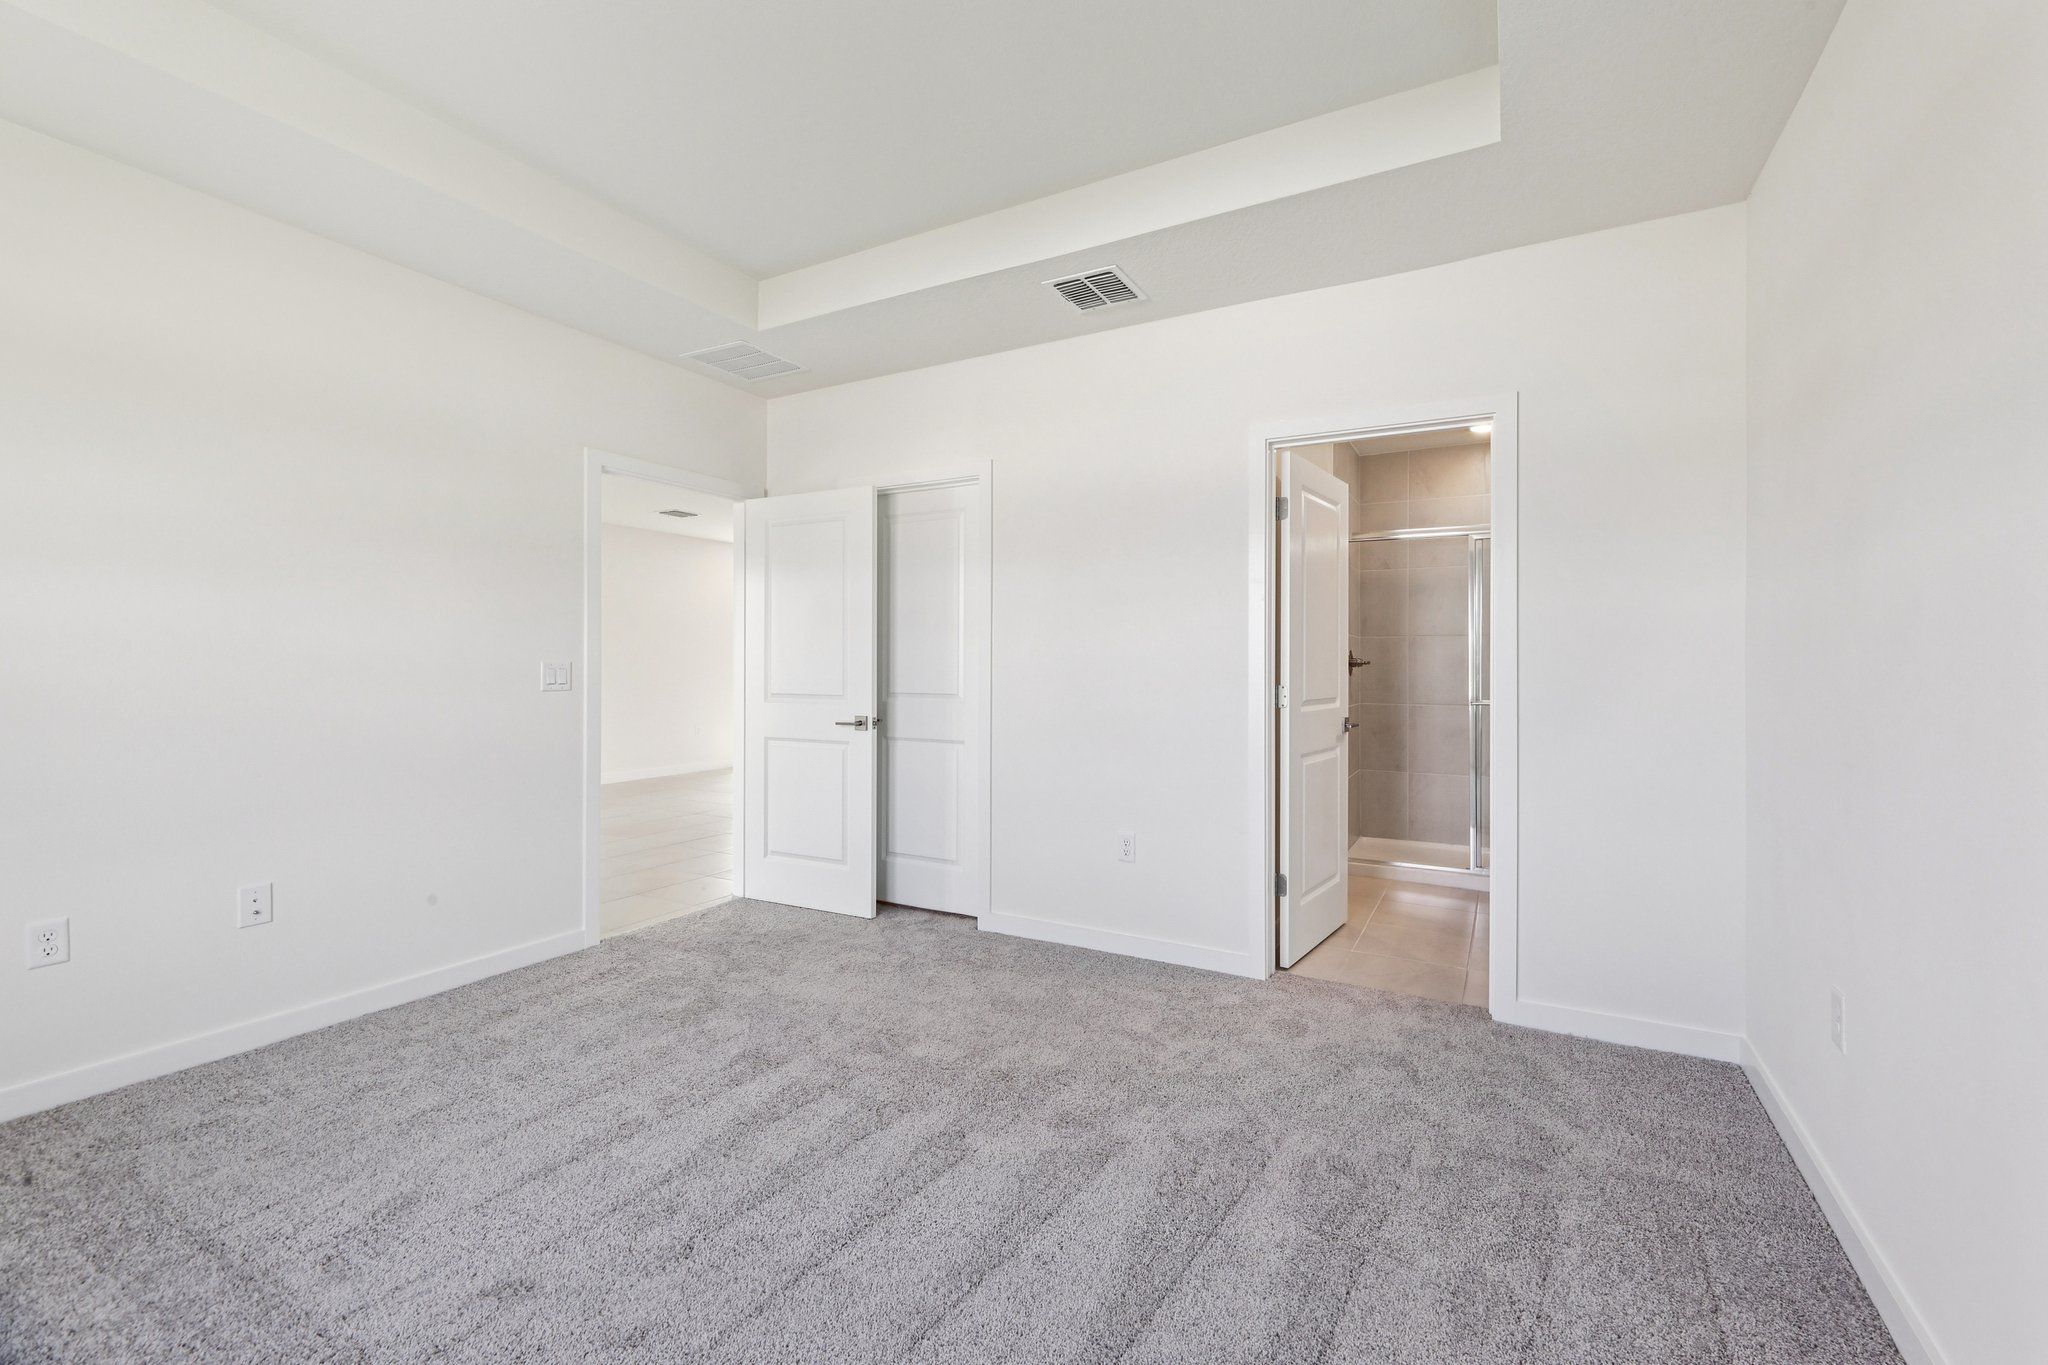
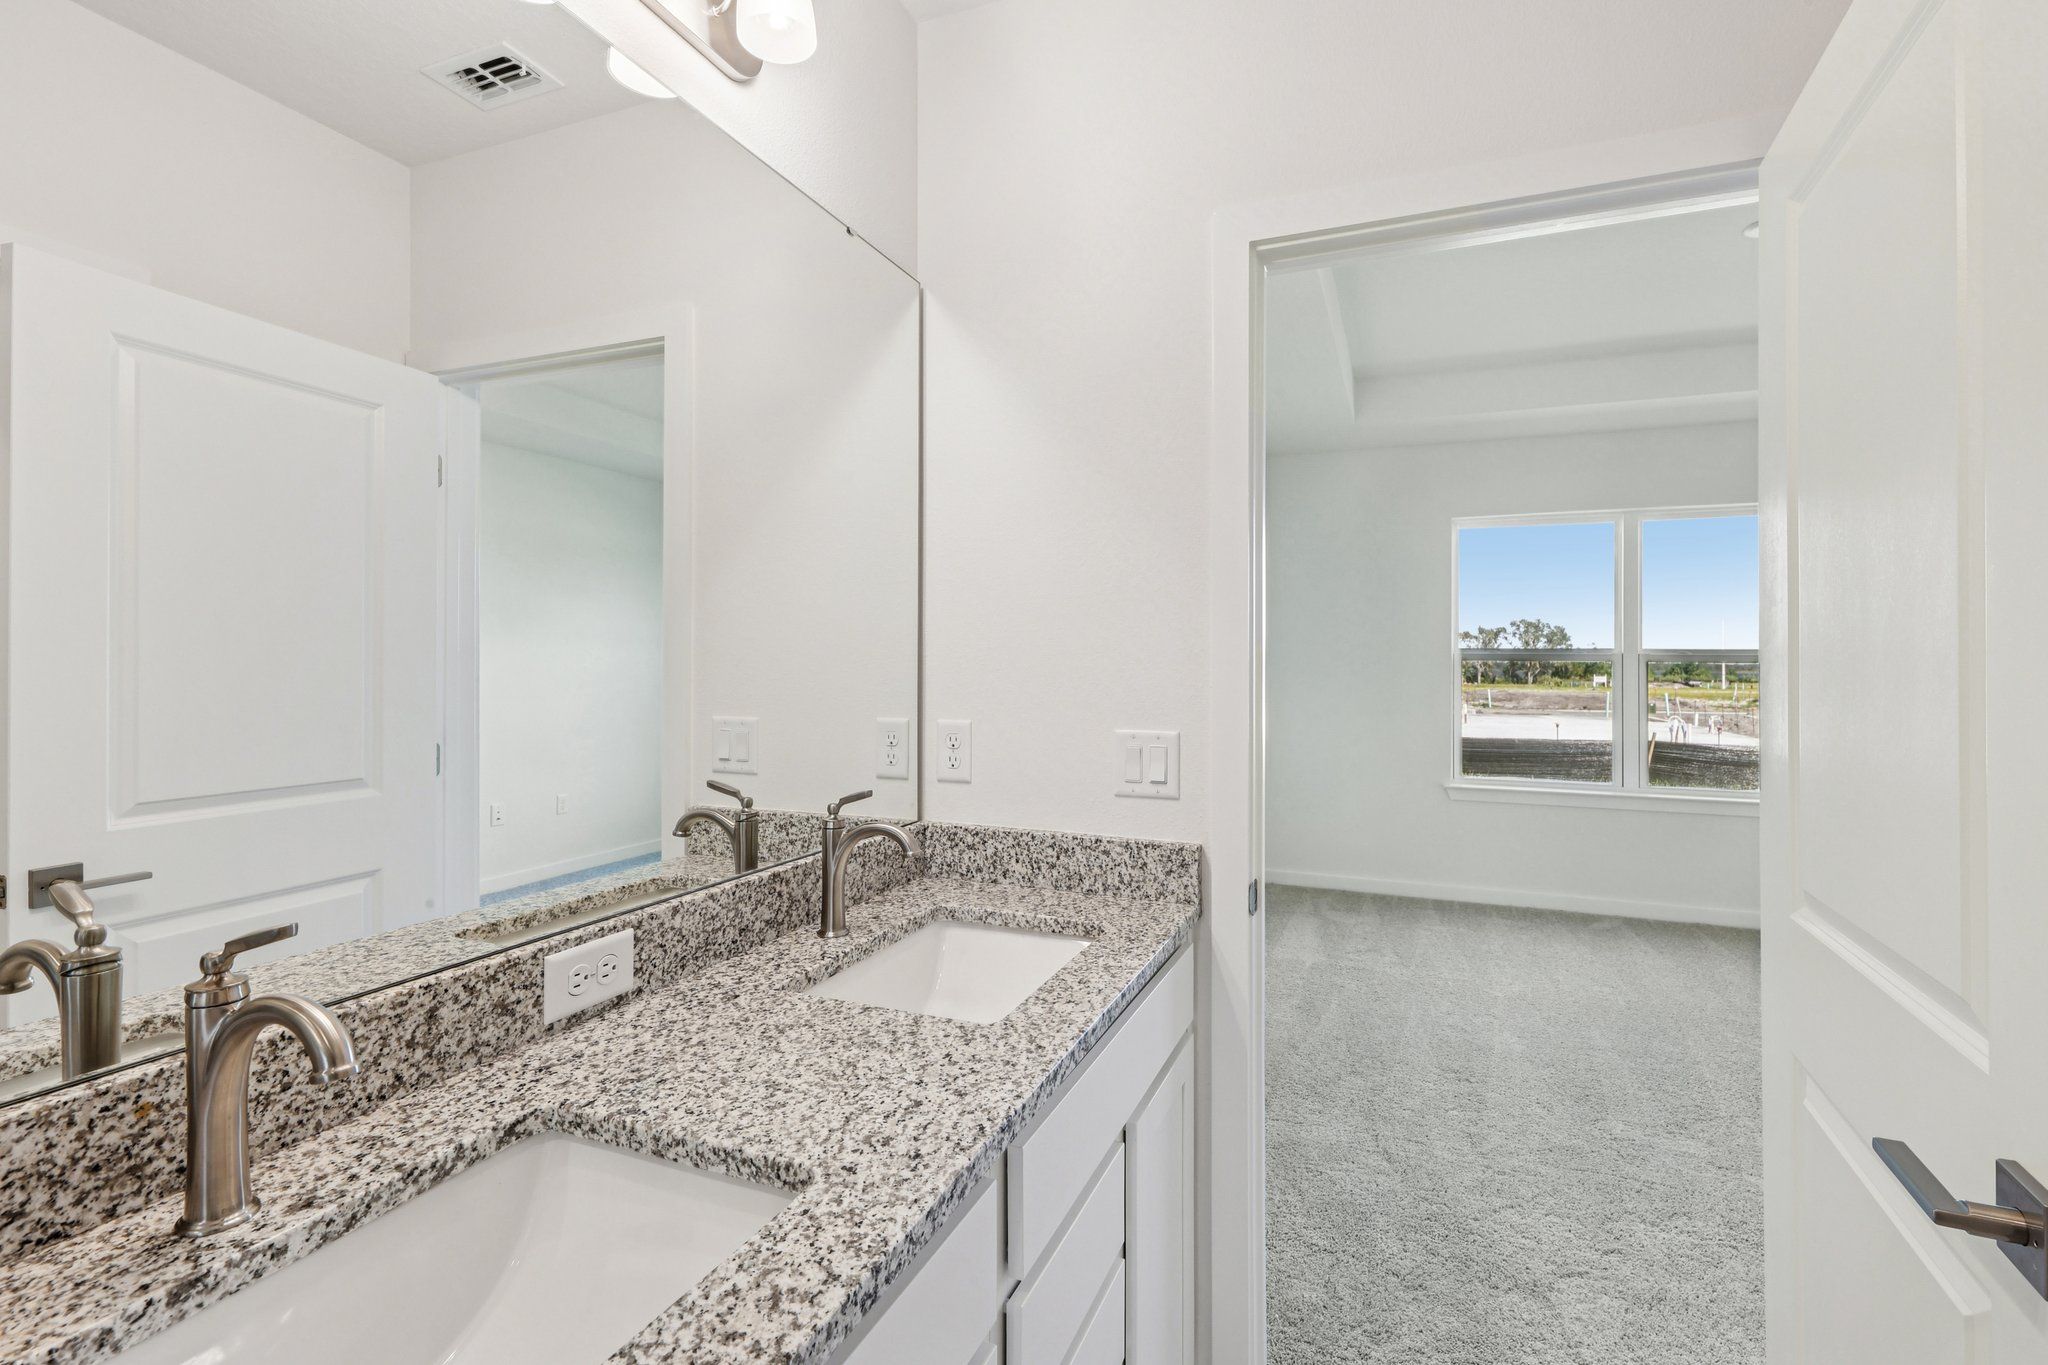
The tradeoff is deliberate: this opening spends two positions explaining the main interior and two on the bedroom-bathroom relationship. If an outdoor feature is the agent’s central message, I would move it earlier and return one of those connecting views to the full gallery. Room count alone cannot make that choice.
The Winter Haven media case study also explains the role of the floor plan and 3D tour. Photographs introduce the layout; they cannot establish every dimension or connection.
Sequence C · A home with land and separate structures
Haines City: begin farther out, then bring the viewer inside.
This property needs a different introduction. The aerial shows the residence, red workshop, covered storage and open land together. Starting with that relationship gives the home context that an interior photograph cannot supply. I would follow it with the front exterior, then move closer to the entry and into the main living area.
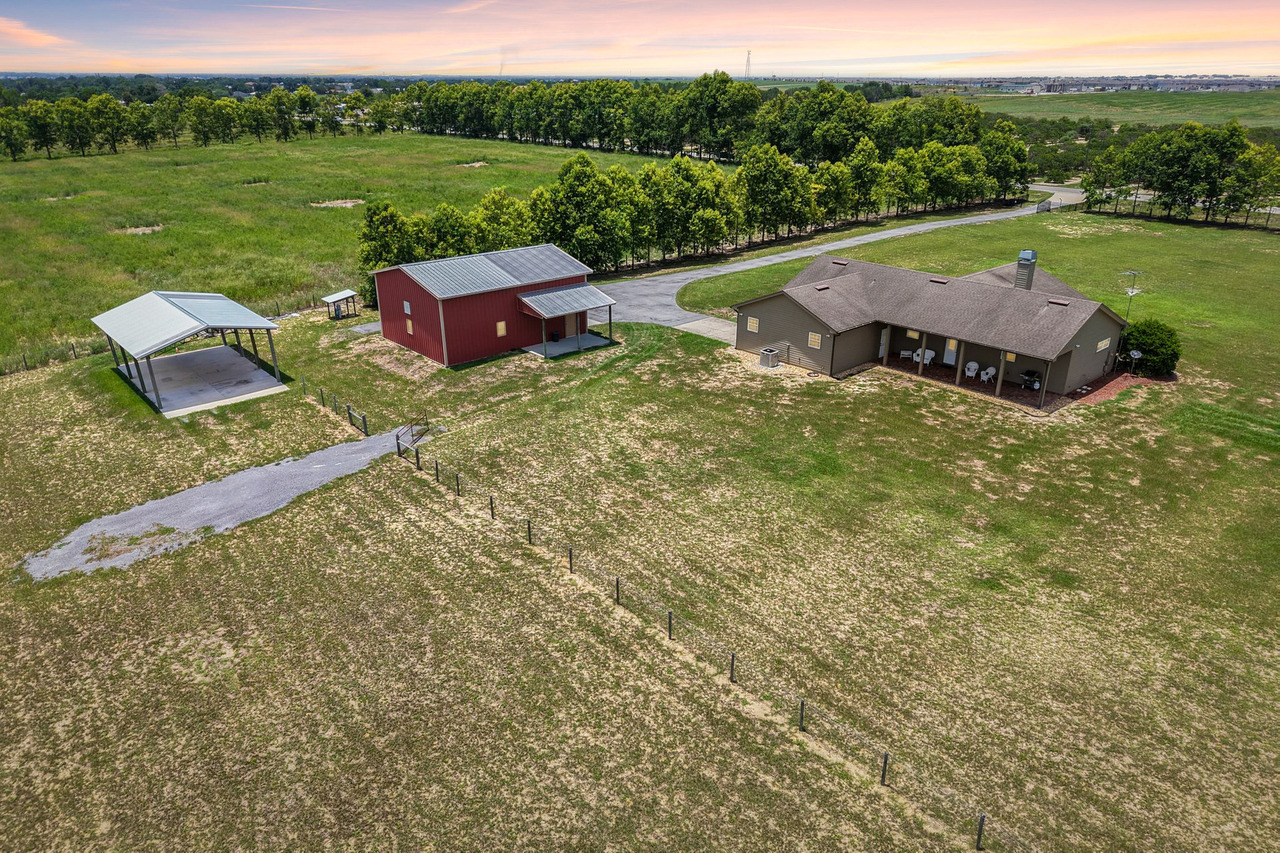
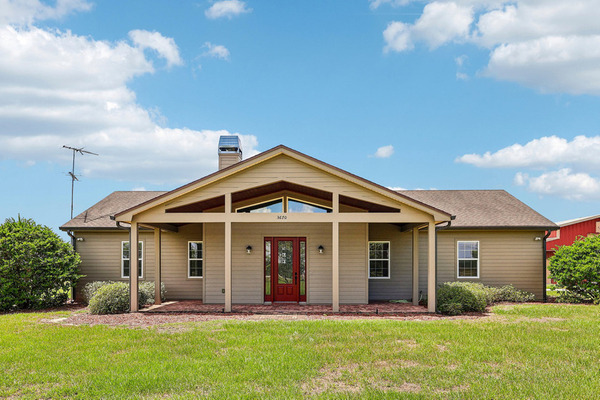
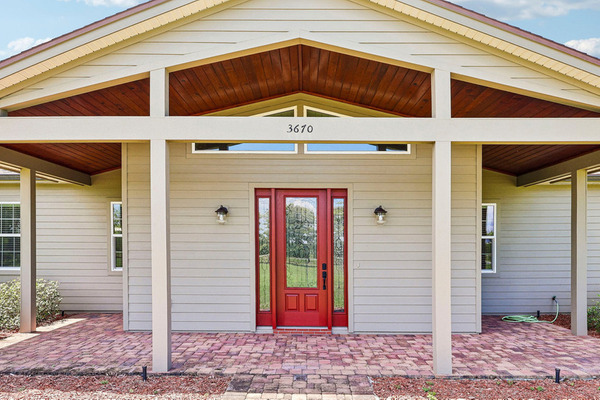
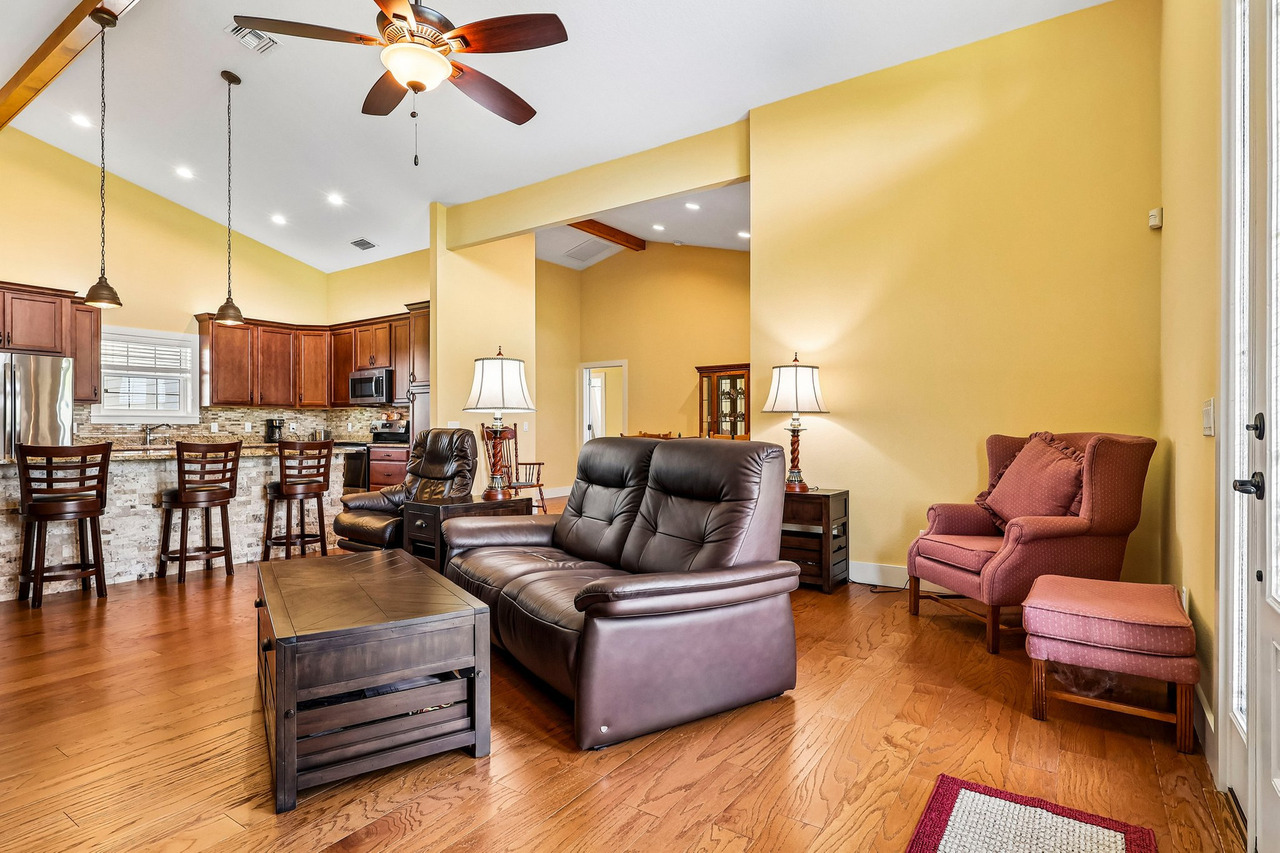
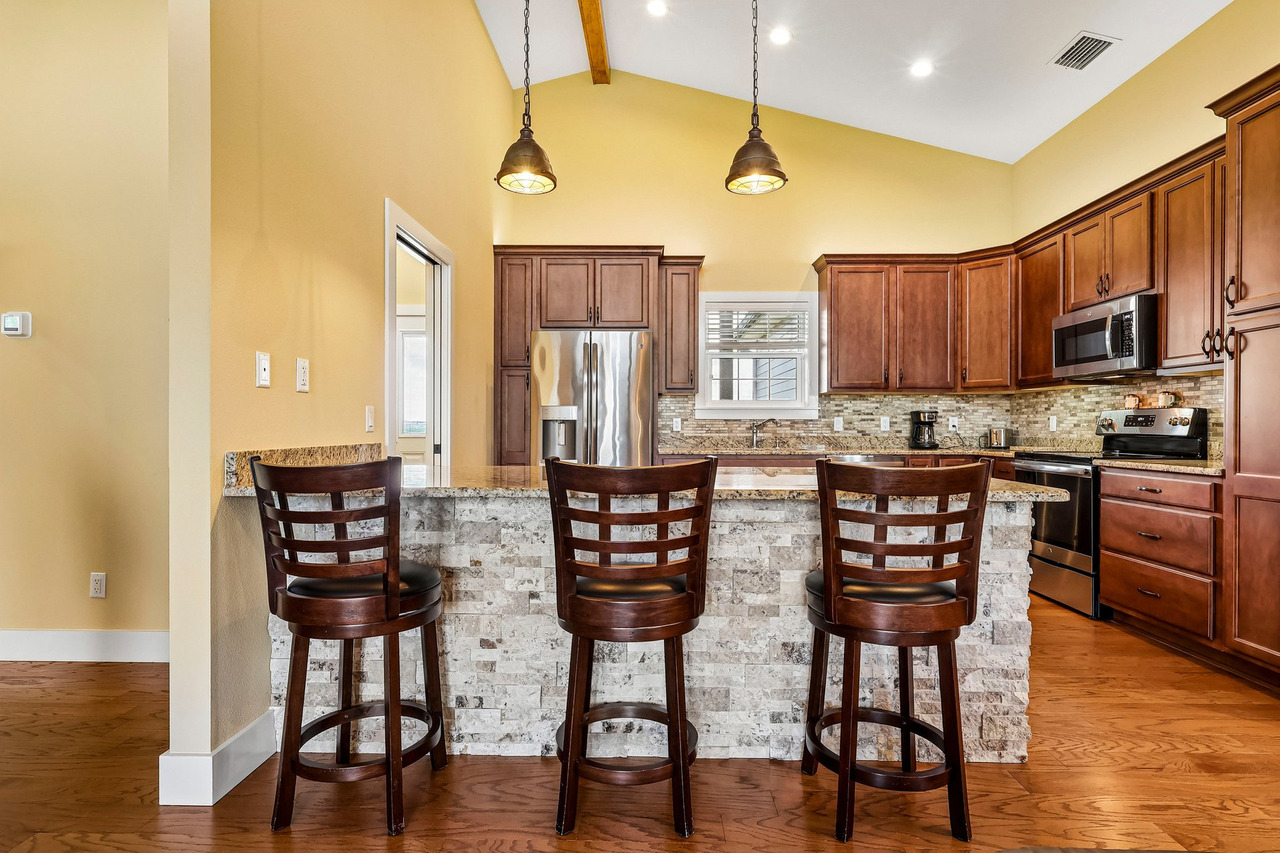
This is a house-focused opening after establishing the land. It does not fully explain the workshop or storage. If those structures are the reason for the inquiry, I would move their usable-space photographs ahead of the porch detail. That decision belongs in the brief, and the complete gallery must still document them.
See the Haines City acreage project for the wider property story.
Before the gallery goes live
Read the five together, then check the actual listing.
Place the candidate images side by side. Under each one, write a short answer to “What does this add?” If two answers are the same, compare the frames and keep the clearer one early. A photograph can be excellent and still belong later in the gallery.
- Check identification. Does the opening show the subject property clearly and follow the destination's placement requirements?
- Check progression. Can you follow the relationship between the images? Use doors, windows, islands or other recognizable features as reference points.
- Check the promise. Do the photographs support the feature being emphasized in the description? Label shared amenities as shared, and do not imply that a nearby feature belongs to the property.
- Check the small view. Review the thumbnail and phone layout. Excess ceiling, sky or foreground can weaken the subject. A tighter composition helps only when it preserves the information the photograph needs to communicate.
- Check after upload. Open the actual listing and verify the order, crops, captions and remaining gallery. A well-organized delivery folder is only the starting point.
Zillow's real estate photography guide emphasizes an honest representation of the home and its layout. That is the standard I would carry through the edit: a strong opening should make the property clearer.
If you are still deciding which features deserve the shoot's attention, start with how to showcase a home's best features. That article covers what to show and how to photograph it. This one begins with the delivered images and asks how to put them in order.