
If a professional real estate photo looks sharp when I deliver it but soft after it reaches Instagram, I do not immediately blame the photography.
There are several steps between the finished file and the post your audience eventually sees.
Instagram processes uploads. But I also see Realtors accidentally compressing good files before Instagram ever gets them—sending them through messaging apps, taking screenshots, resizing them several times or exporting an already exported JPEG again.
Start With Instagram's Highest Quality Upload Setting
Before changing Lightroom, Photoshop, Premiere or CapCut settings, I would check Instagram itself.
Turn on “Upload at highest quality”
- Open your Instagram profile
- Tap the menu in the upper-right corner
- Look for Media quality in the app settings; menu names and placement may vary by version.
- Enable Upload at highest quality if that option is available for your account.
Allow the upload to finish before leaving the app, then inspect the published post.
It takes a few seconds to check, and it removes one variable from the workflow.
Choose a Deliberate Export Size
For a dedicated social copy, 1080 pixels wide is a practical starting point in this workflow—not a promise about the resolution every viewer receives.
Compare landscape, square, 4:5 and 3:4 crops with the actual composition. Preview the selected format in the app or scheduling tool before committing.
The platform can resize and recompress uploads. A larger source does not guarantee a sharper delivered post.
A Working Export Is Not a Platform Guarantee
This distinction matters.
Check current platform guidance and the options shown in your publishing tool.
I still have to decide how I want to prepare a professional real estate photograph.
My Practical Real Estate Photo Export
Why I Often Like 4:5 for a Realtor's Feed
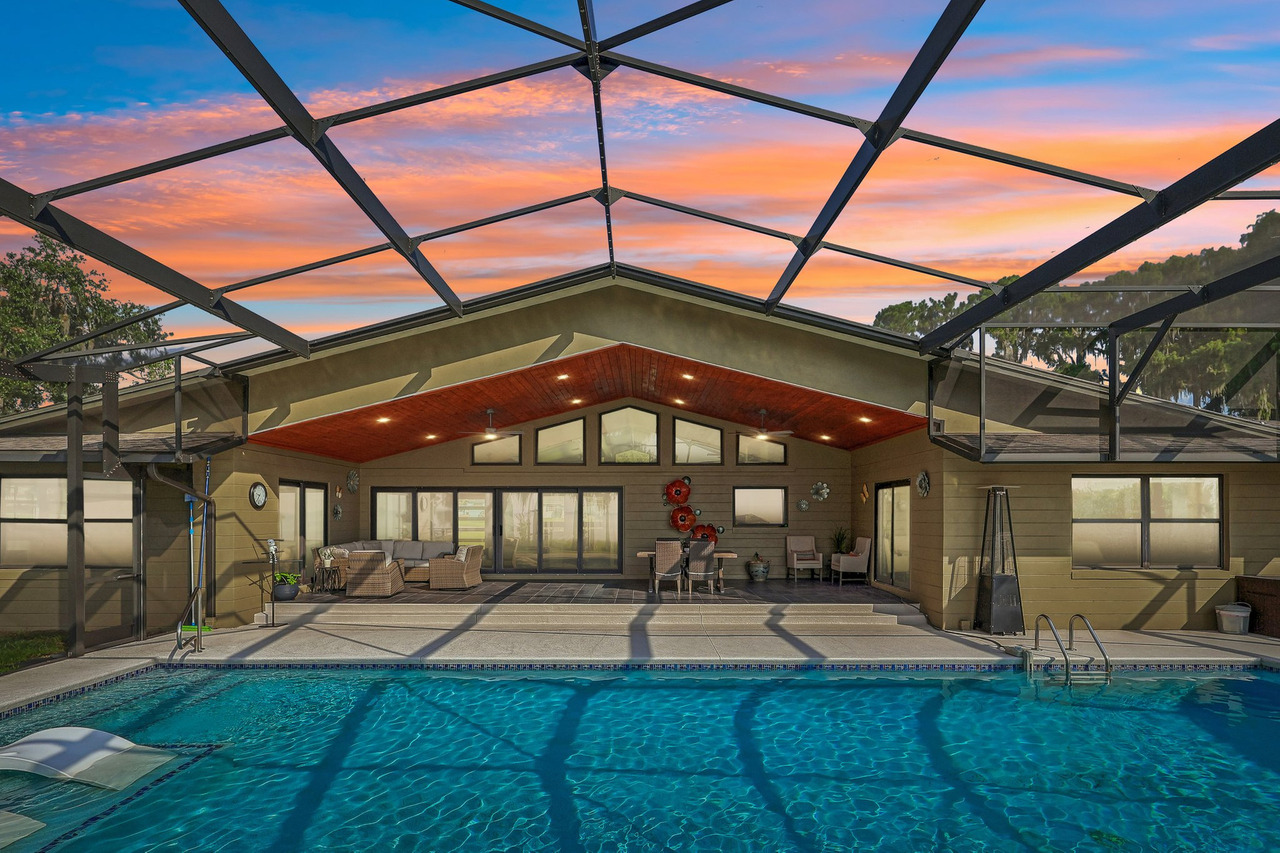
A portrait image occupies more vertical space in the feed than a traditional landscape photograph.
For certain kitchens, living rooms, pools and exteriors, I can use that extra vertical space without destroying the original composition.
But not always.
I would never crop a good architectural photograph badly just because portrait takes up more screen.
The architecture still comes first.
Carousels Should Be Built Like a Sequence
One mistake I see is treating a carousel as a place to dump ten random listing images.
That wastes the format.
Prepare the sequence before opening Instagram
- Choose the strongest cover image first
- Decide the carousel orientation
- Prepare the selected photos to work within that same format
- Check architectural crops carefully
- Use the sequence to move the viewer through the property
They do not have to use the same order.
The First Image Matters More Than the Tenth
If I am helping a Realtor select images for a carousel, I do not automatically start with photo number one from the MLS gallery.
I start with the photograph most likely to make someone stop.
Maybe that is the exterior.
Maybe it is the kitchen, pool, great room or a detail that makes this particular property different.
The cover has to earn the swipe.
For Reels, I Prefer to Build Vertical From the Beginning
For a full-screen vertical property Reel, a 9:16 composition is a useful production starting point. Check current requirements in the tool you will use to publish or advertise.
Choose the export to suit the source footage and destination. A minimum accepted specification is not a quality target.
For real estate social content, I normally build the edit as a true vertical video.
My Practical Reel Delivery
Do Not Turn a Horizontal Video Into a Vertical Video at the Last Minute
This is one of the reasons I treat a Realtor Reel differently from a traditional horizontal property film.
If I know the final piece is vertical, I can compose for vertical during production and editing.
That protects important architecture and gives me room for text, transitions and movement.
If You May Boost the Reel Later, Plan for That Before Editing
This matters for Realtors because a Reel that works organically may later become paid content.
If you intend to boost the Reel, confirm its current eligibility, duration and format in the advertising workflow before approving the edit.
Do not assume audio available for an ordinary post is cleared for a commercial ad. Confirm the music rights and the advertising eligibility of the final creative.
If there is a reasonable chance the Reel will become an ad, tell your editor before the edit is finished.
The Biggest Quality Loss May Happen Before Instagram
This is something I see outside the platform itself.
I deliver a finished photograph.
Then the file gets sent through a messaging app, downloaded again, cropped, screenshotted, edited and saved one more time.
After all of that, Instagram receives a file several generations removed from what I delivered.
Please Don't Screenshot the Professional Photo
If your photographer delivered a JPEG, use the JPEG.
Do not open the photo on your screen, take a screenshot and then upload the screenshot.
- You lose control over the final resolution
- You may change the crop
- You introduce another resizing step
- You are no longer posting the file that was actually delivered
Download the actual delivered image.
Avoid Exporting an Export of an Export
The same principle applies to editing.
Master → Social Export → Instagram
- Start with the finished professional master
- Create one dedicated Instagram copy
- Transfer that file without unnecessary recompression
- Upload that copy directly to Instagram
I want as few unnecessary generations between the master file and the platform as possible.
Real Estate Photos Do Not Need Artificially Extreme Color
Sometimes “quality” gets confused with saturation.
A photograph can be extremely colorful and still be inaccurate.
With real estate photography, I care about the house looking polished while still feeling believable.
Better Upload Settings Cannot Fix Weak Media
Upload at highest quality is useful.
But it does not fix:
- Out-of-focus photography
- Weak composition
- Poor lighting
- Distorted vertical lines
- Inaccurate color
- A low-resolution source file
- A horizontal video poorly cropped into vertical
Upload quality protects the end of the workflow.
The media still has to be strong at the beginning.
A Simple Pre-Post Checklist for Realtors
I would check these eight things:
- Am I using the original delivered file?
- Is Upload at highest quality enabled?
- Did I choose the crop intentionally?
- Is the strongest photograph the carousel cover?
- Did I prepare the carousel as a sequence?
- Was the Reel actually built vertically?
- Is essential text away from interface edges?
- Did I avoid unnecessary recompression before upload?
Better Instagram Quality Is Only Half the Problem
You can upload beautiful media perfectly and still have an Instagram profile that does not clearly communicate who you are, who you help or why someone should contact you.
That is a different problem from image quality.
Do Not Post Every Photograph Just Because You Have It
A listing may have 40 or 50 finished images.
That does not mean Instagram needs all of them.
I would rather show a shorter sequence of strong images that makes someone curious than recreate the entire MLS gallery inside one social strategy.
The full listing gallery can do the rest.
Frequently Asked Questions
What size should Instagram real estate photos be?
For this workflow, use 1080 × 1350 or 1080 × 1440 as starting canvases when portrait suits the photograph. These are export choices, not guarantees about platform delivery. Check the crop before posting.
What happens if I upload a photo wider than 1,080 pixels?
The platform may resize or recompress the upload. Keep your master file and compare the published result with your dedicated social export instead of assuming more pixels always produce a better post.
Where is Instagram's highest-quality upload setting?
Look in the app settings for Media quality and Upload at highest quality. Labels, location and availability can vary with the app version and account.
What size should a real estate Reel be?
For this workflow, 1080 × 1920 in 9:16 is a practical starting canvas. Compose for vertical viewing, keep text clear of interface elements and check the published result.
Can I boost any Reel?
No. Check the current eligibility shown for the specific Reel and account before planning paid distribution. Review the final format, duration and commercial music rights with the editor before delivery.
Why can a professional photograph look worse after I post it?
Possible causes include using an already compressed copy, taking a screenshot, repeatedly exporting the file, uploading an inappropriate crop or starting with a lower-quality version instead of the delivered original.
Should I post my entire real estate gallery on Instagram?
Usually not. I prefer selecting the strongest images and building a shorter visual story rather than duplicating the full listing gallery.
Your Listing Media Should Still Look Professional After You Post It.
Professional photography and video are only useful if the final presentation preserves the quality and intention of the original work.
Magic Lens creates photography, Reels, video, drone media, Zillow 3D tours and floor plans for Realtors throughout Orlando and Central Florida.

Gustavo Sousa
Gustavo Sousa is a professional real estate photographer, videographer and FAA Part 107 Certified Remote Pilot based in Winter Garden, Florida.
A professional photographer since 2012, he works with Realtors, residential listings, vacation homes, builders and real estate media projects throughout Orlando and Central Florida.
Platform references
Meta — Reels creative guidance: the vertical Reels format and mobile viewing context.
Instagram — Access to the licensed music library: music availability and commercial-use limitations.
The export sizes in this guide are practical workflow choices. Confirm current specifications and advertising eligibility in your publishing tool before posting.